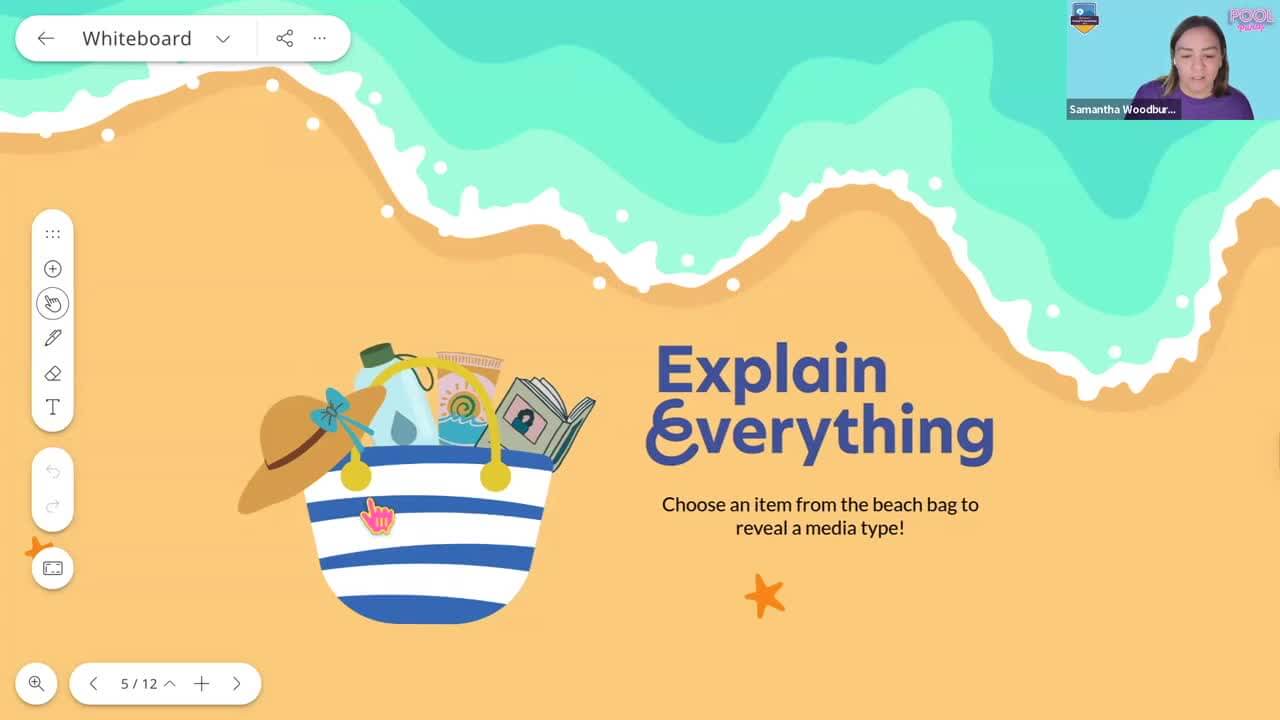
Explain Everything explained: Adding media

Whether you use Explain Everything web or Explain Everything Advanced, you have a wide array of features at your fingertips. One of our favorite ways to enrich lessons is by adding media like engaging videos, sounds, and files through the Add tool.
Here’s a quick guide to help you quickly and easily integrate media into your projects.
Not sure which plan you have? Head over to explaineverything.com and log into your account to see your plan or upgrade.
Photos and Screenshots
Sometimes, the best way to help students understand concepts is to use an example in real-time. With the New photo tool, you can instantly snap a picture using your device’s camera and add it directly to your Explain Everything project. You can use this to take fun pictures of your students with their projects, as a visual aide in a live lesson, or take selfies of you showcasing objects like a planet or the correct answer to a math equation.
Need to capture what’s on your screen instead? Use the Screenshot tool to take a picture of a browser tab or window to share information from online quickly. You can also screenshot your entire screen to capture images from what’s on your desktop or current Explain Everything project.
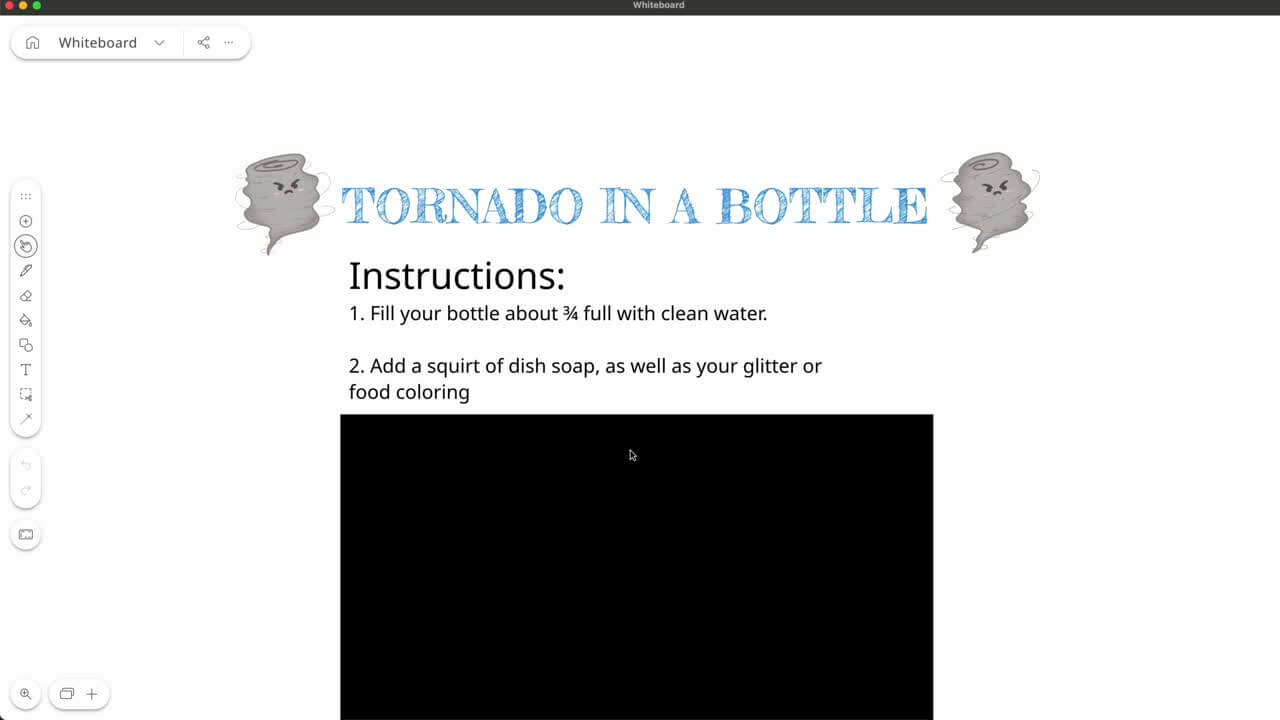
If you already have the images or videos saved to your device, you can add them to your project using the Image or video tool. Explain Everything supports everything from PNGs to GIFs and MP4s. This gives you the flexibility to add diagram charts, images of historical figures, or educational video clips to enhance the learning experience.

Audio files
Bring lessons to life by adding sound. Using the Audio tool, you can add a Beethoven symphony to your music class, narrate or add commentary to a project, or even embed your student’s voices to add a dash of delight. Supported audio files include popular formats like MP3 and WAV files, making it easy to find and add audio to your lesson.

Clipart and Web media search
If you don’t have the perfect visual yet, there’s no need to start digging around the internet: the Clipart and Web media search tools are here to save the day. The Explain Everything Clipart library is packed with emojis, charts, graphs, planets, and even adorable animal letters.
If you need more specific images or a reaction GIF to add fun to your lesson, you can quickly find what you’re looking for on Unsplash or Giphy with the Web media search tool. Backgrounds, reaction GIFs, and professional images to support your lesson are all available at your fingertips!

Files
Streamline your workflow by importing your existing documents to the Explain Everything project with the File tool. You can upload PDFs, PowerPoints, and more. You don’t even have to move the documents from the cloud to your desktop, as you can easily connect your Google Drive, OneDrive, or Dropbox account. If the file has multiple pages, you can choose which ones to import to your current canvas or as their own slides.

Placeholders
Sometimes, you need to reserve space for the future. With the Placeholder tool, you can have the time to find the exact file you need, create interactive lessons for students to add their own pictures, or craft templates to repurpose or share. The Placeholder feature lets you plan your layout, set the dimensions, and add files later.

Sticky Notes
Sticky notes are an often-overlooked tool that can add incredible versatility and engagement to your lessons. Draw attention to the answer to an important question, use it as a brainstorming tool, or even create exit tickets to gauge how well the students understood the lesson. Sticky notes are a great way to encourage both self-reflection and collaboration in the classroom.

With Explain Everything, you have everything you need to make your lessons come alive. Not sure where to start? Explore the Explain Everything Advanced courses or start a project from our library of ready-made templates to enhance your students’ learning today!